A big part of what I enjoy about the Ohio Renaissance Festival is the way in which it inspires me towards creative projects. The environment there is as such that you feel like you want to participate in any way you can. Every year I see people turn up with hand-crafted items they have put hours of work into just for the sake of adding to their garb. It’s delightful, and I get such a kick out of seeing people show off their latest project. Sometimes it’s a piece that adds to their character, but more often than not it’s just something they felt like doing. Art breeds like rabbits at faire.
What is a “Favor Saver?”
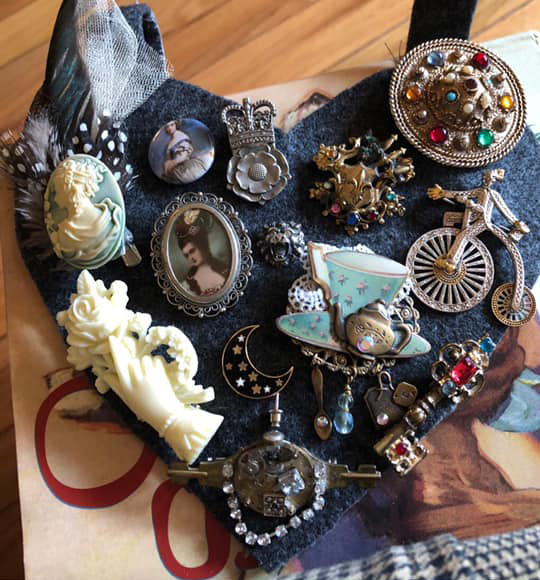
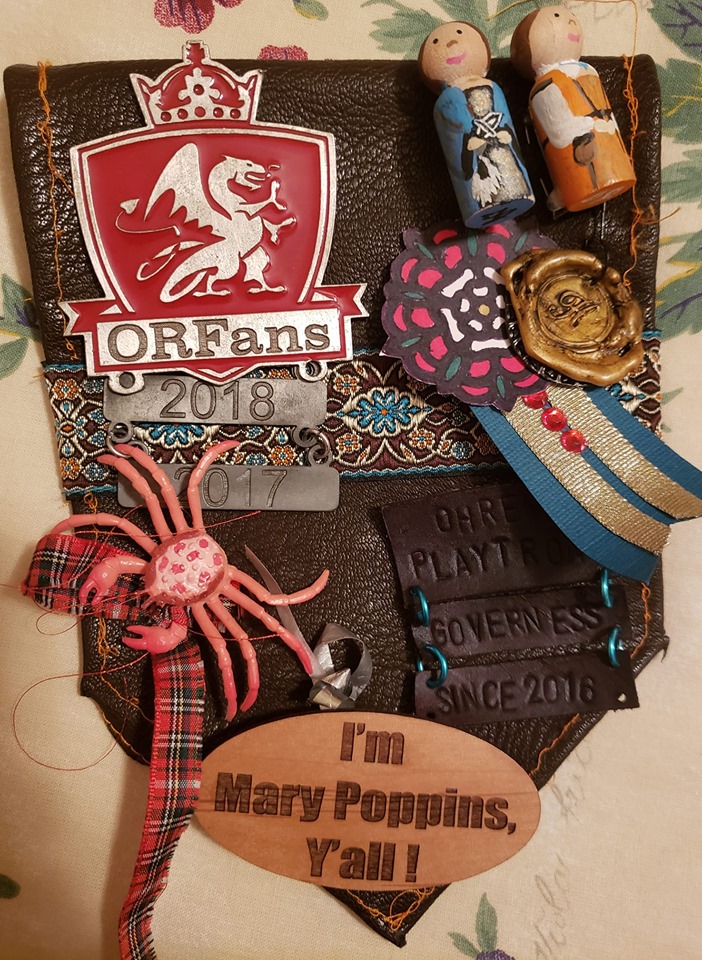
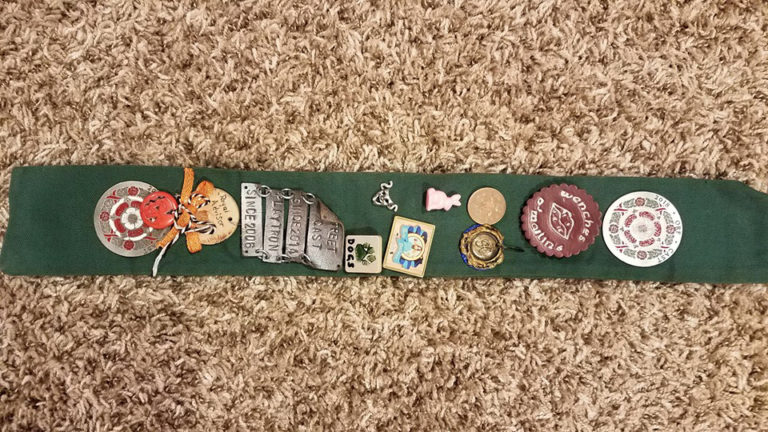
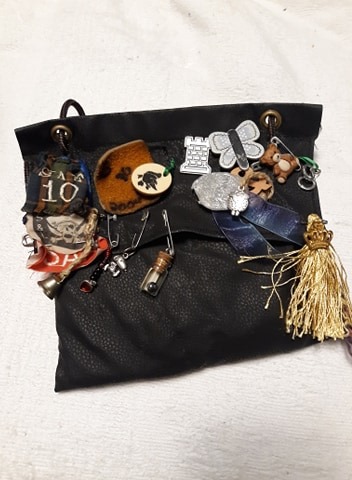
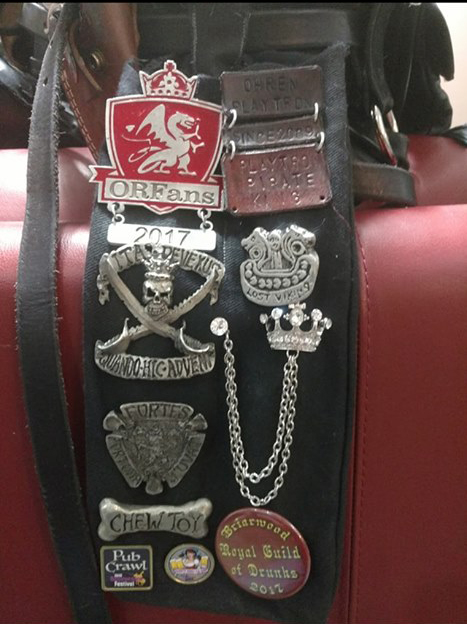
Some crafts come in and out of style. But one of my favorites has always been the “Favor Saver.” It goes by many names, but it is essentially a sewn piece of fabric used to keep favors given at Ren Faires. It usually has a belt sheath on it, allowing for it to be slid onto a belt where you can show off your pins to everyone.
Favors (noun) – a small item like a pin, button, or broach one gains from going to a special show at a renaissance festival. Not all shows give them out anymore, so it’s a specialty item.
Favor Saver (noun) – a garb embellishment dedicated to all of the pins and buttons gathered from festival shows, shops, and events. Alternately called: “brag rag”
I see people with them off and on. If I remember correctly, even the Queen has one of her own in the form of a fox pelt hanging coquettishly off her belt! Sure, you could put your pins on a ribbon or a hat, but there’s just something about having this special, personalized favor saver that matches your garb.
Now, with the 30th Anniversary of ORF coming up, it feels like a good time to take a look at how to make these simple pieces for your upcoming visit to Willy-Nilly.
Favor Savers from around the faire
D.I.Y. Favor Saver
Supplies:
- Pattern (download below)
- Paper
- 1 yard stiff fabric*
- 1 yard trim (if desired)
- Pins
- A needle and thread/sewing machine
- Fabric scissors
- Your garb belt
*Note: Choosing a thicker fabric will help the favor saver hold heavy favors. If you want to use thin fabric, such as a printed cotton, you may need to adhere iron-on interfacing to the wrong side of the fabric to stiffen it up.
Download Pattern:
Instructions:
Step 1: Print and cut Pattern
Print the Favor Saver Pattern and cut out the pattern pieces.
Note: Make sure to measure the belt you intend to use. A wider belt will need a wider “B: Belt Sheath” pattern with a seam allowance. So keep that in mind.

Step 2: Fold fabric and place pattern pieces
Fold fabric with right sides facing each other. You may want to iron it gently to ensure the fabric is flat.
Pin the pattern to the fabric placing the pattern pieces on the fabric fold where indicated.
Cut out all pieces. You will need two of “A: Favor Saver Base” and one of “B: Belt Sheath.”
Note: If you need to interface your fabric, now is the time!

Step 3: Sew Belt Sheath Edges
Place “B: Belt Sheath” down with the wrong side of the fabric facing up. Fold the end edges over about 1/4″. Pin and sew.

Step 4: Apply Trim (optional)
Sew trim (if desired) to the right side of each “A: Favor Saver Base” piece.

Step 5: stack pieces
Fold “B: Belt Sheath” in half with wrong sides of fabric together.
Place “B: Belt Sheath” on top of one of the “A: Favor Saver Base” pieces with right sides together and raw edges together.
Place the second “A: Favor Saver Base” piece on top with the right side of the fabric to the right side of the other two pieces.

Step 6: Pin and sew together all assembled pieces
Pin the assembled pieces and sew around the long sides, leaving the short side at the bottom open.

Step 7: Turn the piece right side out and finish
Turn the piece right side out through the open small side. Push a pencil into the corners to turn them out.
Fold the seam allowance of the open small side up into the piece. Pin and sew all around the “A: Favor Saver Base” piece to close the bottom side and help the item lay flat.
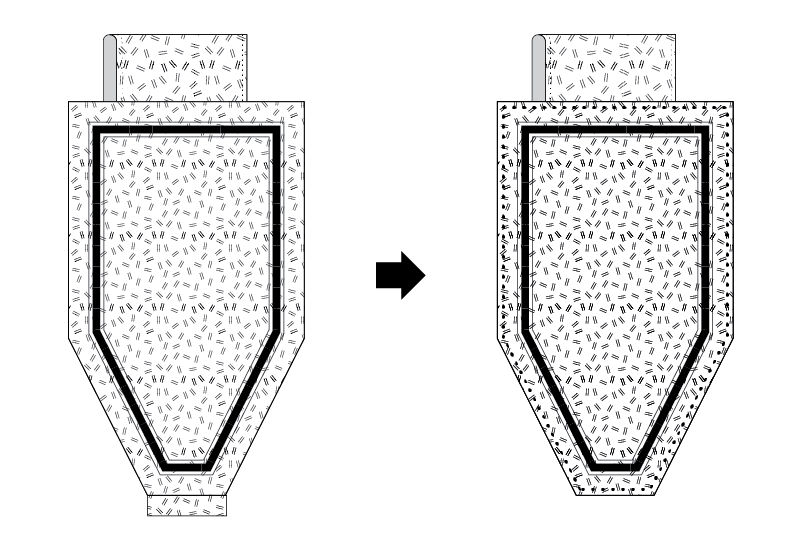
Finished! Enjoy your favor collecting!
Now start collecting and showing off those faire favors!
Want to show off your ORF project?
Make sure to #orfstories on Instagram so we can see your work on the homepage!
