It may be hard to believe, but the opening of ORF is only two more months away! That time goes by quicker than you think, even more so if you have a slew of projects you’re working on. Last year we did a couple of D.I.Y. projects for everyone who is looking to add a little faire flair to their wardrobe.
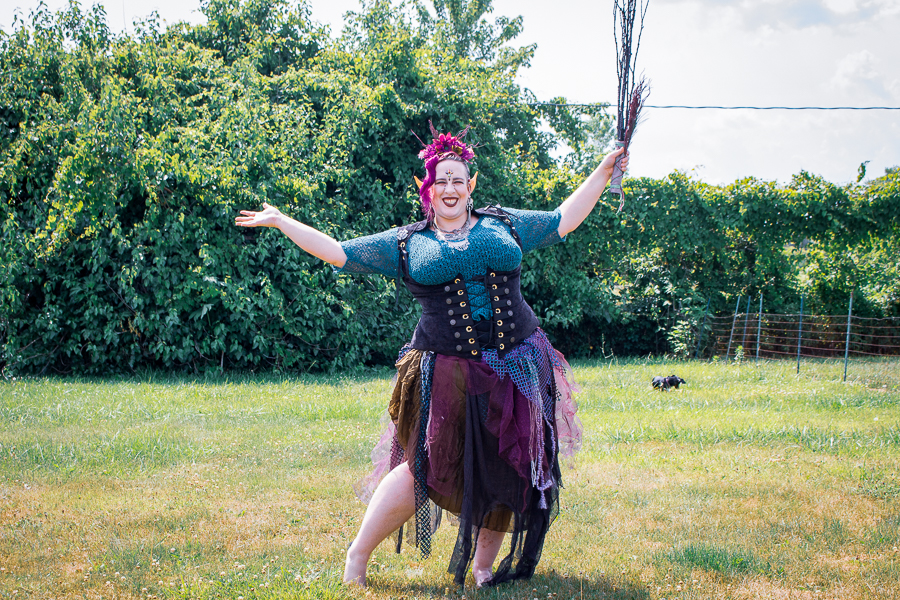
This ‘tatter’ skirt is perfect for kids and adults alike. Cheap, simple, and effective, it can be sewn (as shown below) or even sealed with hot glue if you’re not up for the task. You can use left over fabric scraps and layer this over other skirts or trousers for a multi-layer effect that really stands out in a crowd. The lightweight application of gauze and sheer fabric makes it easier to stay cool, especially during the heat of September in Ohio.
During this process, you want to pay close attention to three things:
Color Palette – You may be creating this to match an outfit you already have planned. In this case, limit your color pallet to build off of what you already have. If starting from scratch, select a pallet of 3-5 colors to work from so your overall aesthetic will be more composed.
Layering – Play around with the layers of fabric before you commit to them. Look at what order helps utilize the features to your best advantage. I suggest putting the plainest fabric to the back, building from there and putting the most textured/shiny/glittery fabric to the front.
Textures – Selecting one or two textured fabrics will help create a more 3-dimensional appearance to your skirt. But you don’t want to overwhelm the skirt with a bunch of eye-catching textiles. If you have three layers, pick one stand out texture. If you have five layers, you can get away with two stand-out textures.
Above all else, don’t be afraid to play around till you find what you’re looking for! I spent well over an hour at my local fabric store shifting color, pattern, and textures in and out until I was happy. Just remember to wear your mask, social distance effectively, and be nice to the retail workers! Put your bolts away when you’re finished and they’ll always be happy to see you.
D.I.Y. Tie-on Tatter Skirt
Supplies
- Cotton or broadcloth for waistband and waist ties
- Skirt fabric such as tulle, mesh, lace, voile, chiffon, gauze, and net
- A needle and thread/sewing machine
- Measuring tape
- Scissors
- paper for pattern making
- *optional* fabric interfacing
- *optional* ribbons, beads, scarves, yarn
Step 1: Measure and Create a Waistband and waist tie Pattern

- Measure your waist and add a half-inch. This is your waist measurement.
- Create A: Waistband pattern piece that is your waist measurement wide and 3″ high.
- Create B: Waist Tie triangular pattern piece that is 16″ wide and 3″ high.
Step 2: Cut out waistband and waist tie pieces
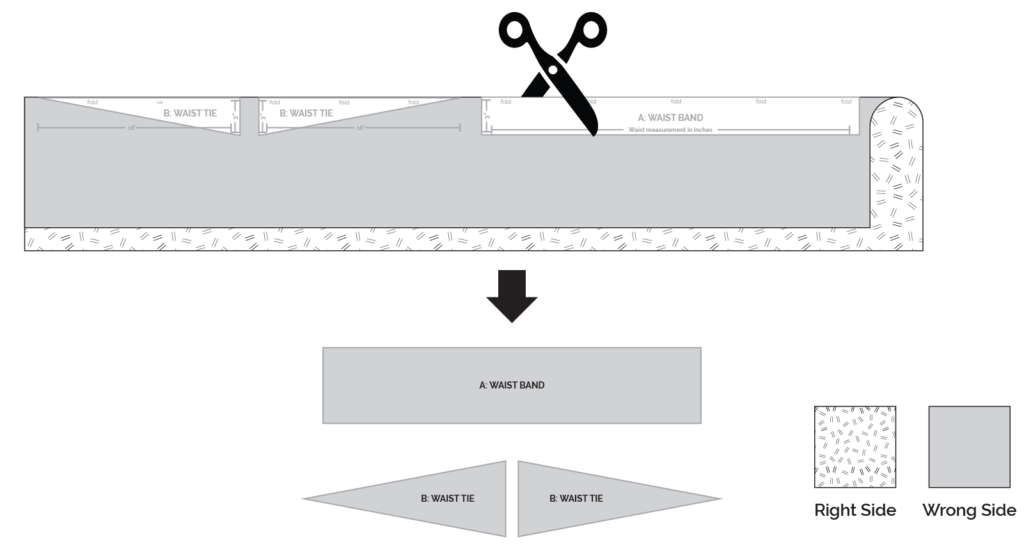
- Fold your waistband fabric in half with right sides together.
- place one A: Waistband pattern piece and two B: Waist Tie pattern pieces on the fold as indicated.
- Cut out pattern pieces.
- *optional* iron interfacing to A: Waistband for a more structured band.
Step 3: Sew Waistband to Waist Ties
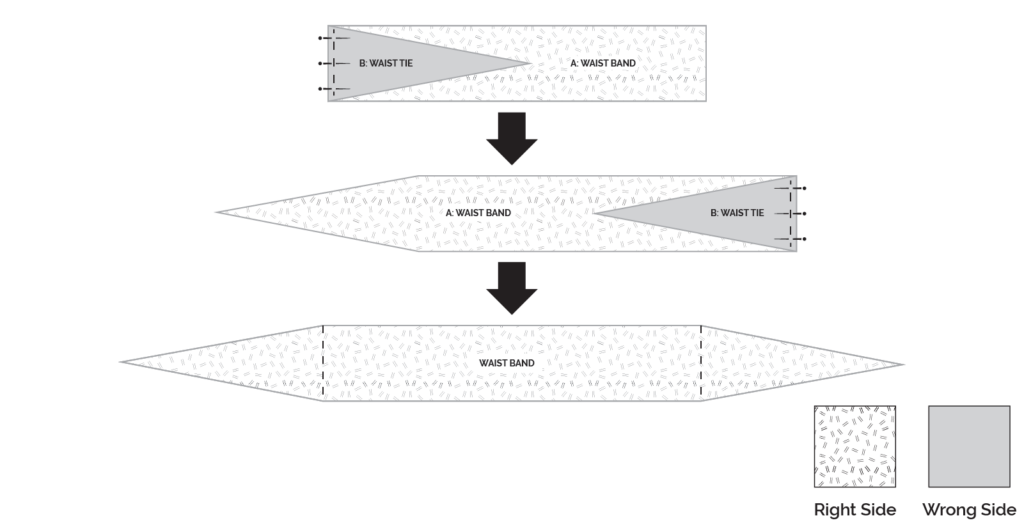
- Place the ends of B: Waist Tie to the ends of A: Waist Band with right sides together. Sew them together
- Lay assembled waistband flat and iron seams open.
Step 4: Hem Waistband

- Fold in the edges of the assembled waistband by 1/4″ and sew all around the piece to finish the edges of the waistband
Step 5: Assemble the Waistband and Skirts
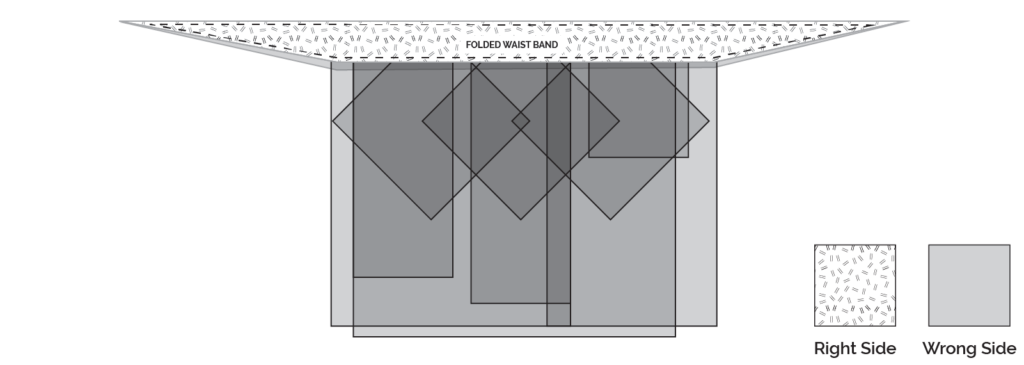
- Cut skirt fabric into a variety of rectangles.
- Fold the waistband in half and sandwich skirt pieces inside.
- Do not be afraid to layer and angle skirt pieces.
- *optional* add ribbons, scarves, yarn, and any other material you wish
- Sew all around the waistband to attach skirt pieces and topstitch the waistband.
Step 6: Tatter the Skirts
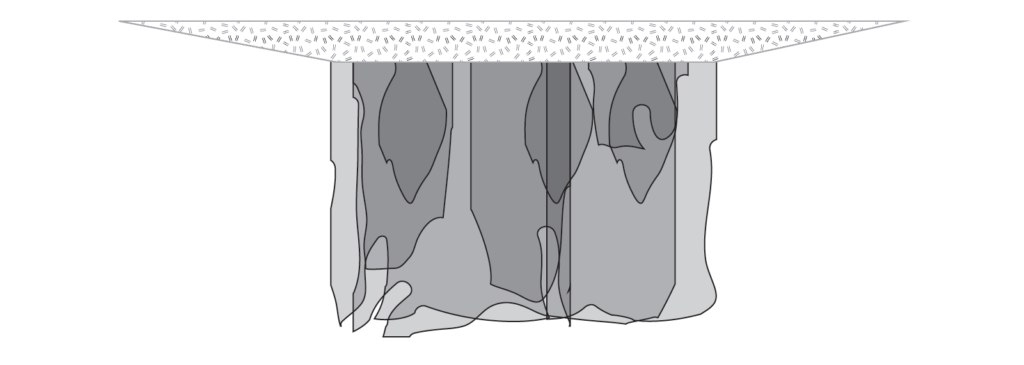
- Fray the skirts by ripping, sanding, and/or burning the edges to achieve a tattered appearance.
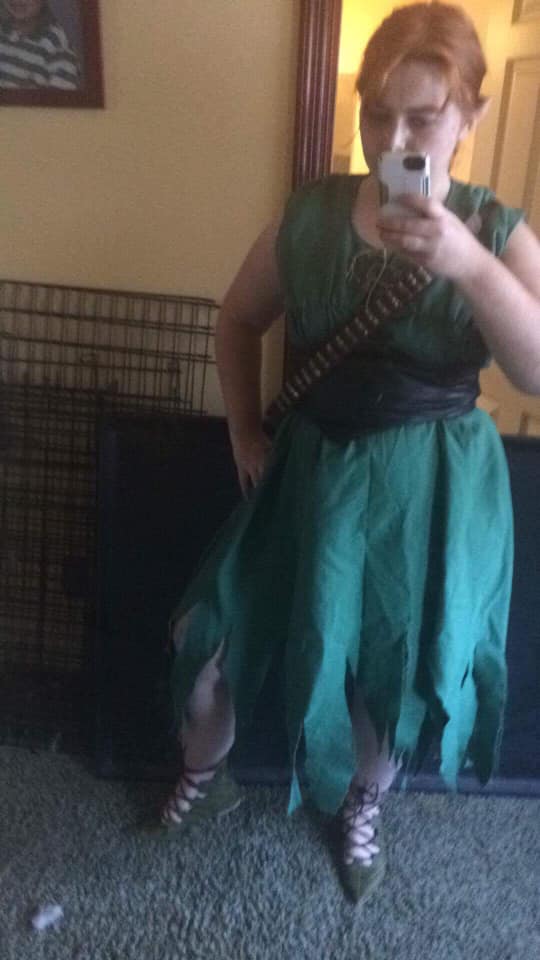
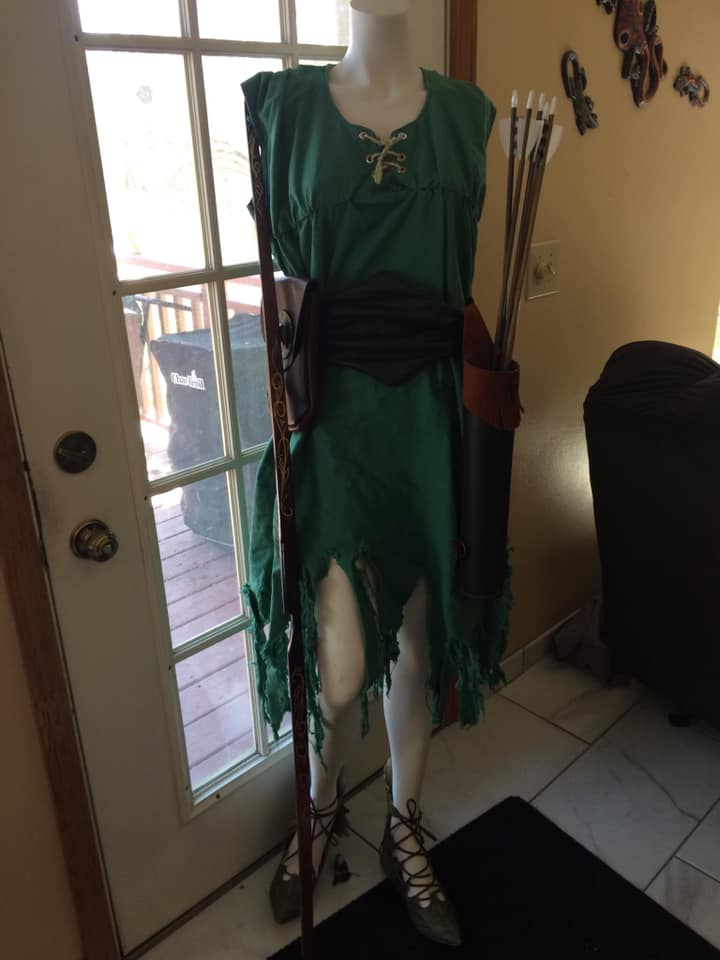
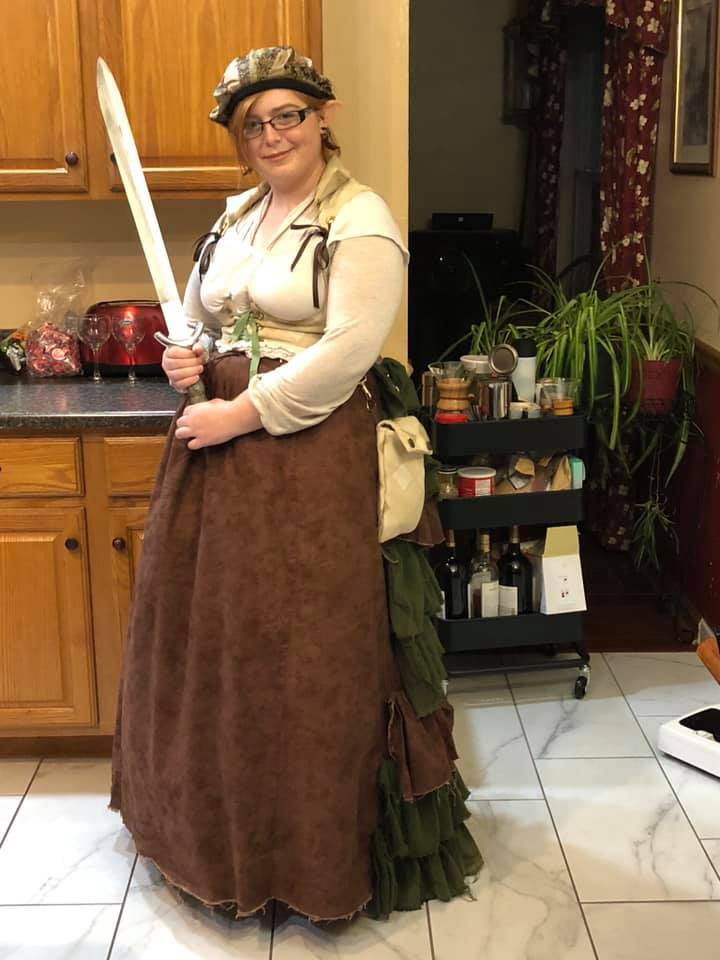
Last but not least, don’t be afraid to make modifications on the design shown here. Originality and creative are prized assets. Use them! Take some inspiration from other designs and alter them to suit your vision. Here are some skirts from around ORF to help you get started.
