Let’s Make Hair Falls

The renaissance festival has long stood as a complex and wonderful means of exploration into history, anachronism, and popular culture. While its origins were ones of educational pursuits, the Faire has since grown into a convention as multifaceted as a diamond. The Ohio Renaissance Festival provides a diverse escape in many forms with each of their themed weekends. Some celebrate the close connection to European history through their Highland and Barbarian weekends. Others invite a more playful interpretation of culture, such as Time Travelers and Fantasy weekend.
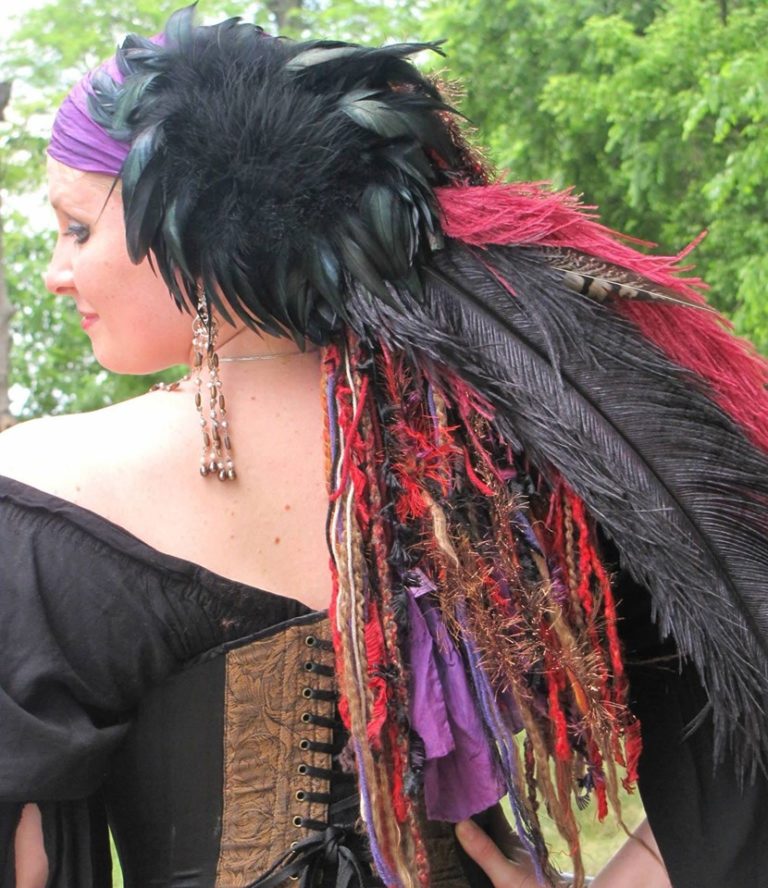
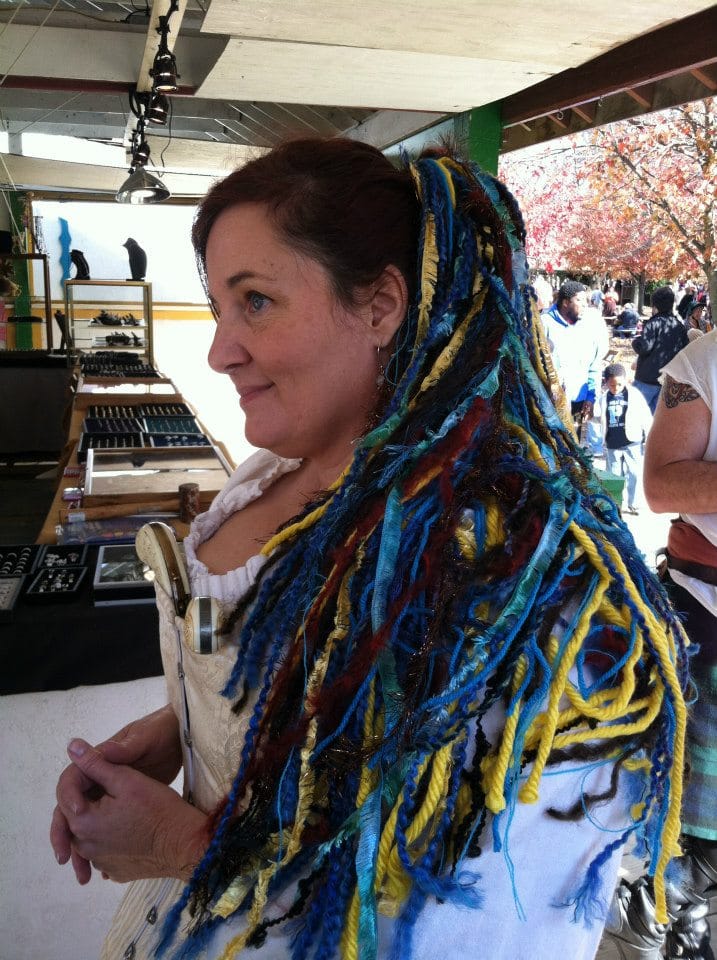
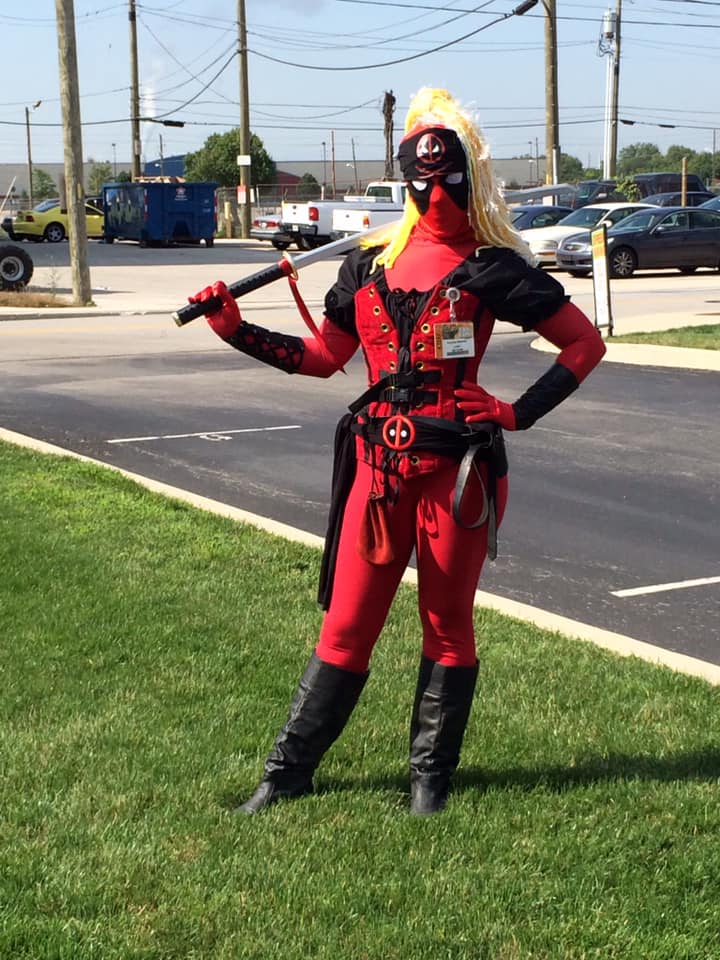
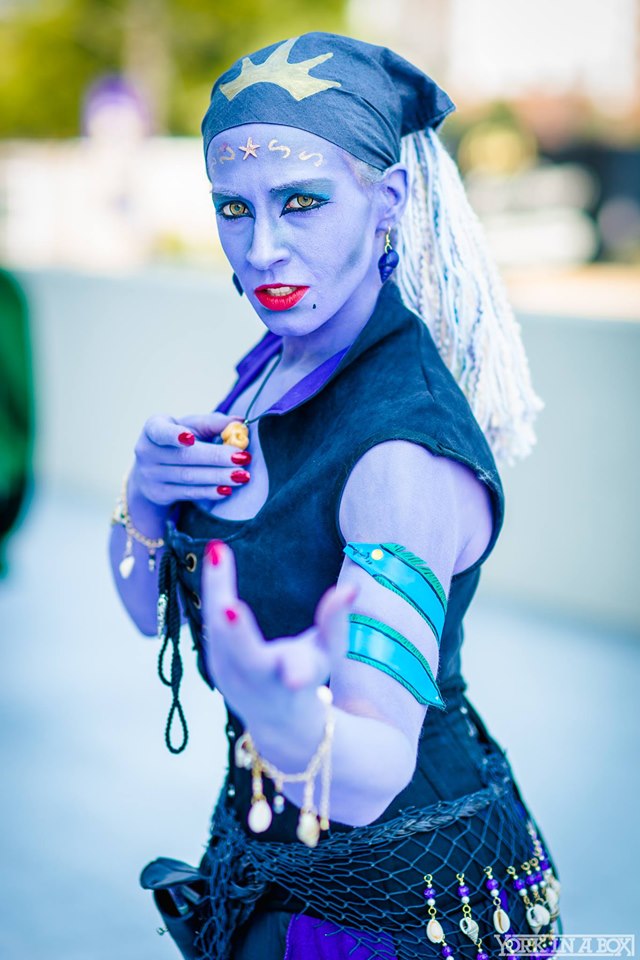
Because of this, not all crafts and garb needs to fall in line with historical accuracy! Yarn falls are a common sight at ORF every year, and they are astonishingly easy to make. As much as I would love to imagine Elizabethian courtiers crafting vividly colored wigs from yarn, I can’t say there is any fact to it! However, they are present in every subculture from goth to steampunk and raver to rennie. By combining color pallet and texture you can create a vivid addition to your wardrobe. I find they work best with pirate, steampunk, bellydancer and fairy garb. But that should not suggest that I haven’t seen a Viking pull it off beautifully.

D.I.Y Yarn Falls
Supplies:
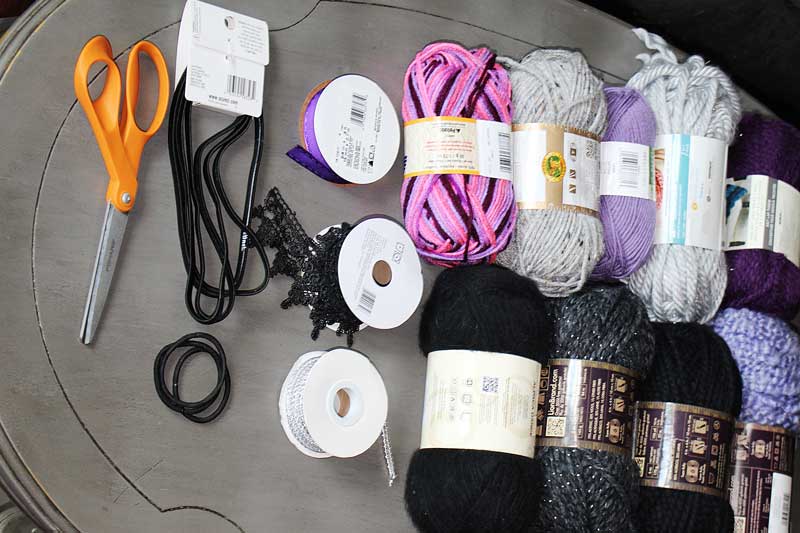
- 5-9 spoons of yarn
- ribbons
- trim
- feathers
- beads
- scissors
- hair ties/bands
Step One: Color and Texture
It would be easy enough to just go and buy a bunch of yarn. But a good set of falls combined a suitable color pallet as well as multiple textures. Now yarn can be a bit pricey, so it’s best to see what your budget will allow. I got lucky as one of my local craft stores is closing and I took full advantage of this to buy several colorful spools of yarn. If you can only get a hold of the cheaper or thinner yarn, it’s not a problem! We will talk later about how to create textures in your falls.
Step Two: Winding and Cutting
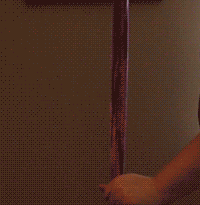
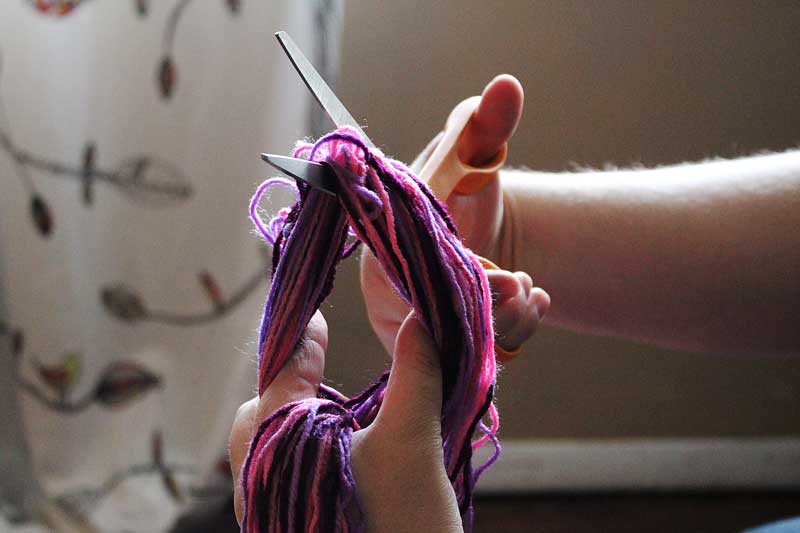
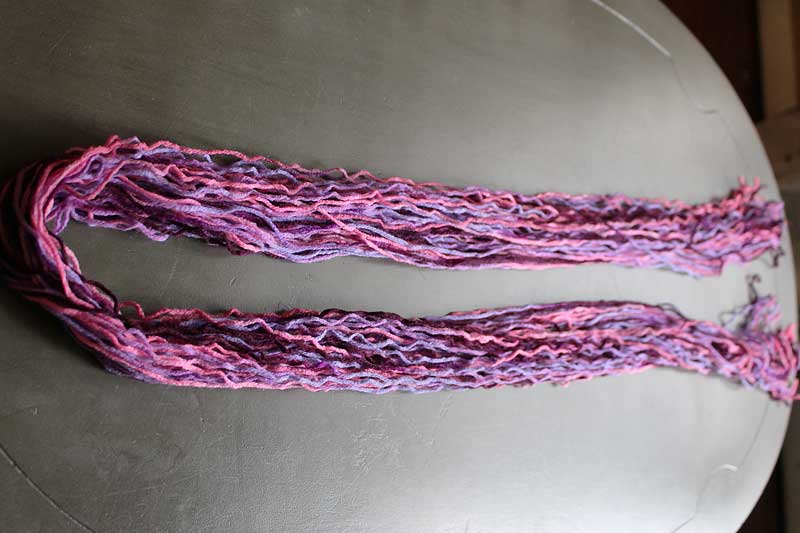
Drawing out your yarn is easy enough to accomplish. Most seem to like their falls to hit just past their shoulders, making for a manageable length during the day. I made mine a bit longer for drama, but a good measure is your own forearm. Pinch the end of the yarn between your fingers and draw the yarn down around your elbow. Pull the yarn back around and pinch it again (like winding a hose around your arm), continuing over and over until you have at least 20 – 30 loops. Take your scissors and cut through the strings at the place where they are pinched.
Step Three: Hanging and Looping
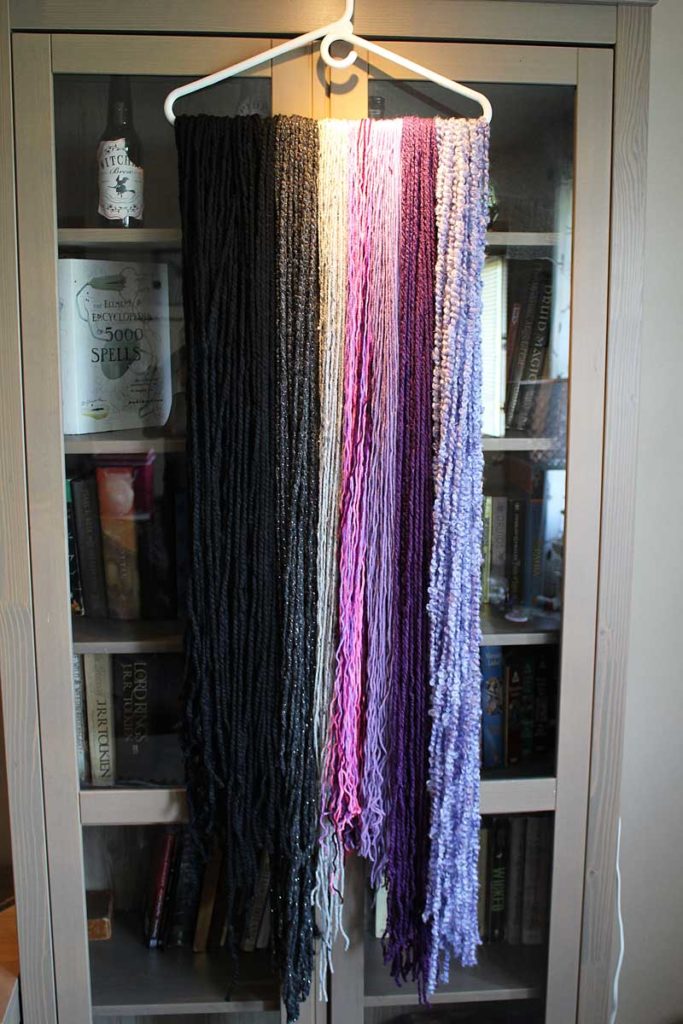
I find it very easy to keep everything well organized on a hanger, allowing me to select the strings I need without getting everything tangled.
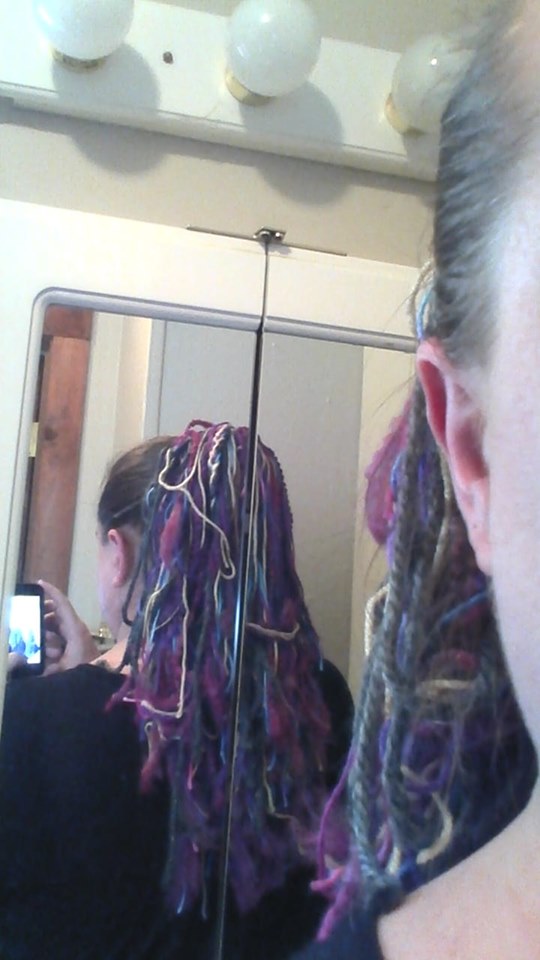
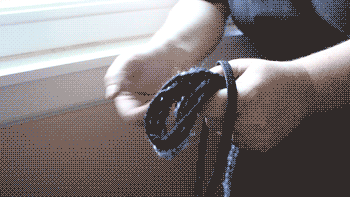
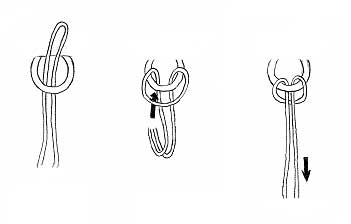
Once hung, select 6 – 8 strings in different colors for your first loop. Take the hair tie in one hand and create a loop from the middle of the yarn. Thread it through the tie and then draw the remaining yarn through the loop to create a neat and secure knot (a cow hitch knot).
Step Four: Patience
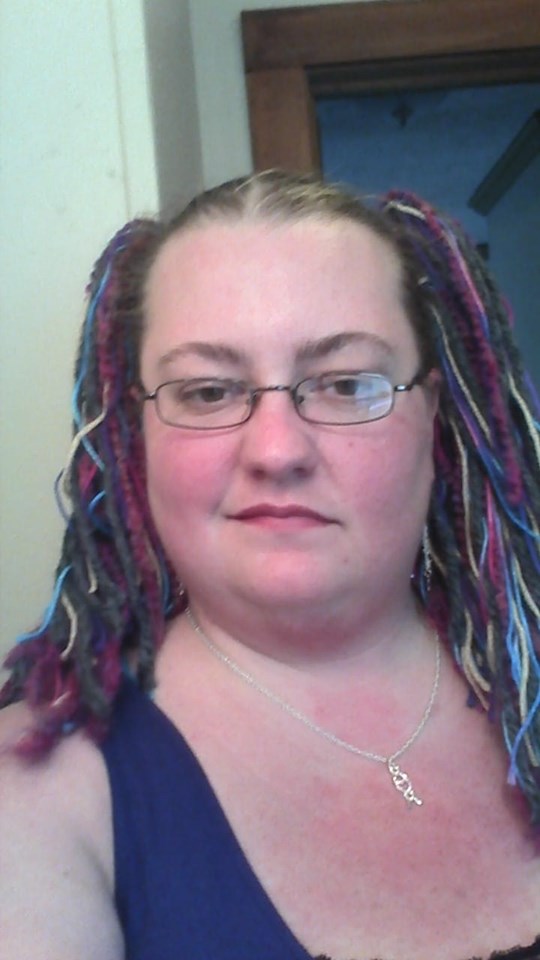
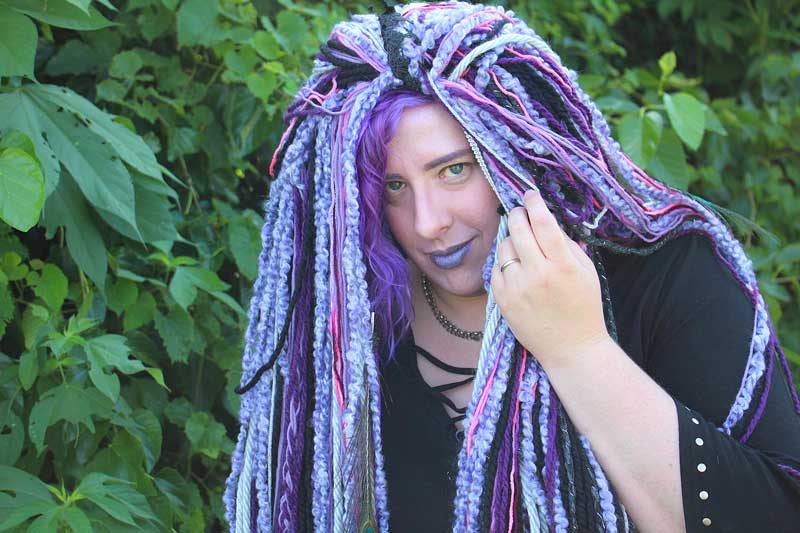
Depending upon whether you are using a hair tie or a large band, you will need to measure how much you use so as not to overload and break the elastic band. For a hair tie, I usually stop at 4 loops, which is about 32 strands of yarn. This work splendidly for a ponytail or pig-tails. However if you’d like a full mane flowing behind you, go for a hairband. You can pile about 9 loops onto a good one, making for vibrant tresses. If you like, you can even make multiple bands for a huge, layered appearance.
Step Five: Texturing
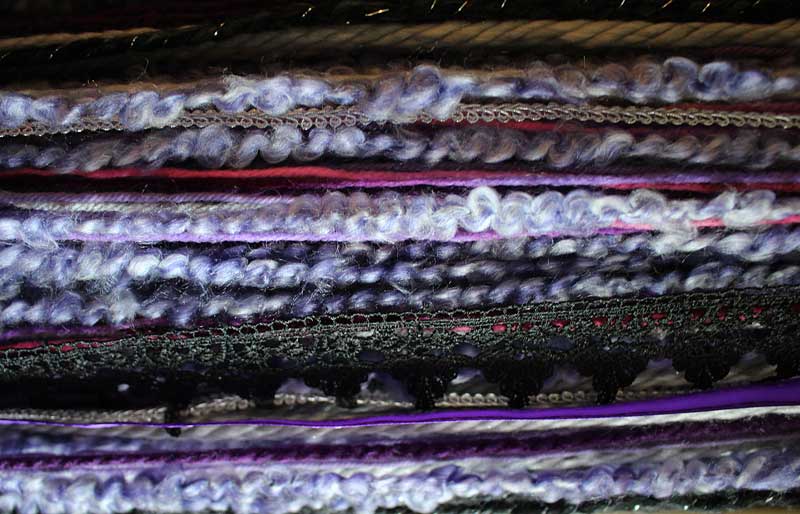
Utilizing texture to help your falls pop really helps the overall look. It’s easy as pie to braid strands together. You can also add beading and feathers throughout your new falls to help draw the eye in. Keep in mind not to put anything too heavy in your falls unless you’re willing to support it. Remember, it’s your head these will be on! You can comb out some of the yarn or add in ribbons and fabric trim that will stand out from the dense layers. I had a lot of fun creating my look, which reads as pretty witchy overall!
Don’t forget, ORF is only about a month away! There is plenty of time to add your crafts and creations to the #orfstories tag on Instagram so they can appear on the homepage. These yarn falls make for great additions to adult and children’s garb, so don’t’ be afraid to experiment. I would love to see what you come up with!