Let’s Make a Feathered Faire Hat

With only 7 weeks left, now is about the time when I start getting the ‘faire-jitters’. The excitement is building and I find myself thinking about what I can do to satisfy that urge. Last week we talked about the creativity which the Ohio Renaissance Festival inspires and how it drives us to add a little more color to our lives. With that in mind, I thought another project was in order! I’m secretly hoping to see a few people show up this season after following the tutorial for the favor saver. I think it would be fun to know how each of you has made modifications on the original.
This week we are going to focus on hats! Hats were not just an accessory for the fashionable Tudor, but a necessity. They are no less so at ORF, especially on the sunny weekends. There are some beautiful shops on site where you can find a smart chapeau to keep your noggin covered. But if you’re budget conscious and Pinterest board obsessed like I am, then something a bit more personal might be just what you’re after!
Hats In The Tudor Era


Hats and headdresses were common all throughout Europe during the Renaissance. Considered a staple of the wardrobe, they came in a variety of different fashions and fabrics. Silk, velvet, beading, trim, and feathers were popular among those who could afford them. Wool was most commonly used as it bolstered the English wool trade, but I strongly doubt anybody wants to go wandering around during the Ohio summer in a woolen cap! So let’s focus on making a fun and comfortable hat to keep you cool!
D.I.Y Feathered Faire Hat
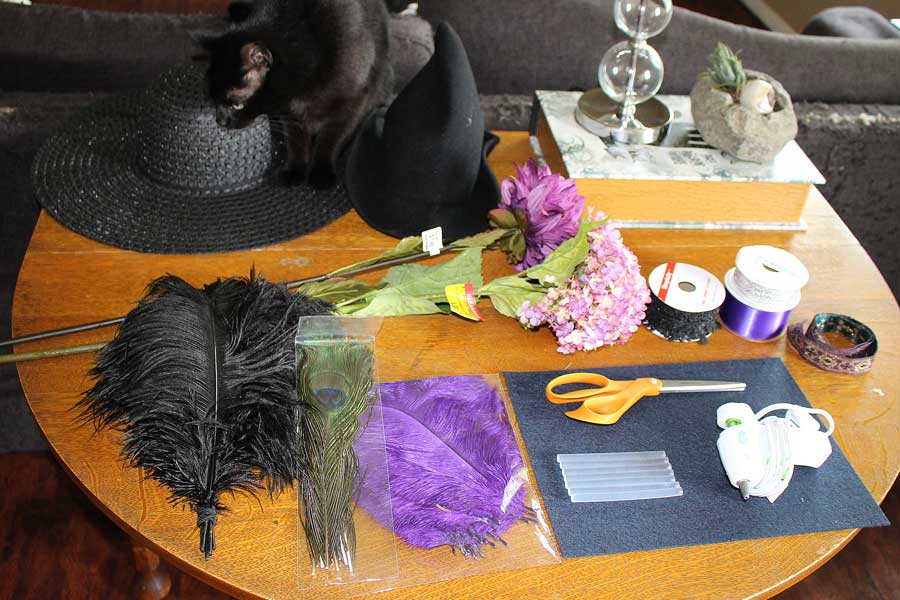
Supplies
- desired hat. Suggested: Felted hat, wool cap, straw sun hat.
- hot glue gun
- scissors
- felt sheet
- feathers
- trim / ribbon
- silk flowers
- other embellishments (beads, brooches, tulle, buttons, et cetera)
HINT: Colors and decorations are entirely up to the individual. Be aware of how much you load your hat up, as a heavy hat will be bothersome.
I’ll be working with a “straw sun hat” style base and using the color palette of black and purple to match my (slightly gothic) ren faire garb. You can choose any hat style, colors, and embellishments to achieve custom faire hat that suits you, the steps are the same!
Step One: Plan Ahead
Take a moment to plan what you want for your hat. Do you want something simple or dramatic? Do you want to feel more like a pirate? Select tattered, slightly picked fabric that looks worn and mismatched feathers. Do you want to feel like a noble? Choose bold colors and pearls with a large glittery brooch. Two important factors are coloring and layering. Both have an effect on how your final product will turn out. Limiting yourself to 4 or 5 colors will create a pallet for a more coordinated look. You may want to match the colors to your garb if you have any!
Layering is a great way to get a multi-dimensional look to your hat. It will help the look pop from a distance and add a bit of personal flair to your appearance. Using more than one type of trim can help with this, or you can utilize different lengths/colors/textures of feathers for a noticeable flair.
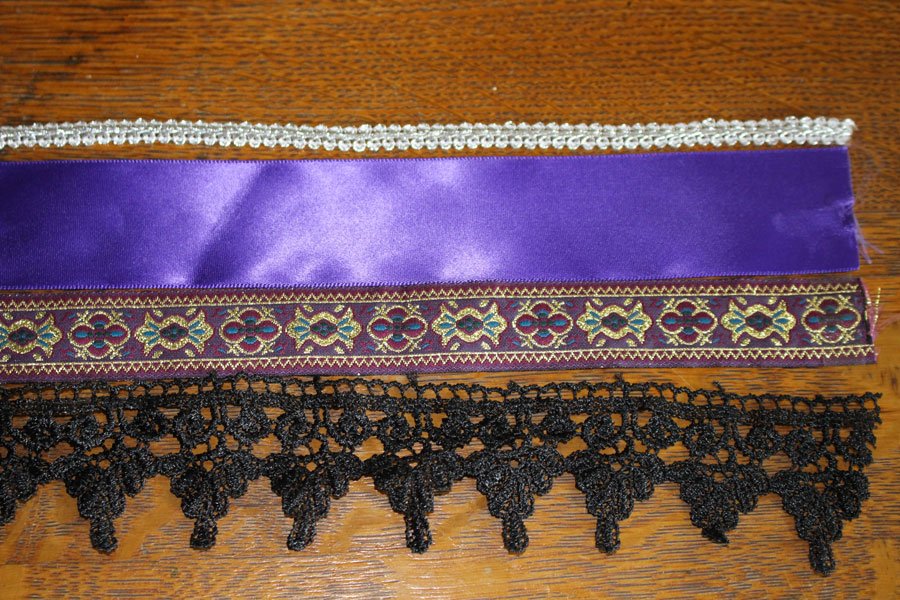
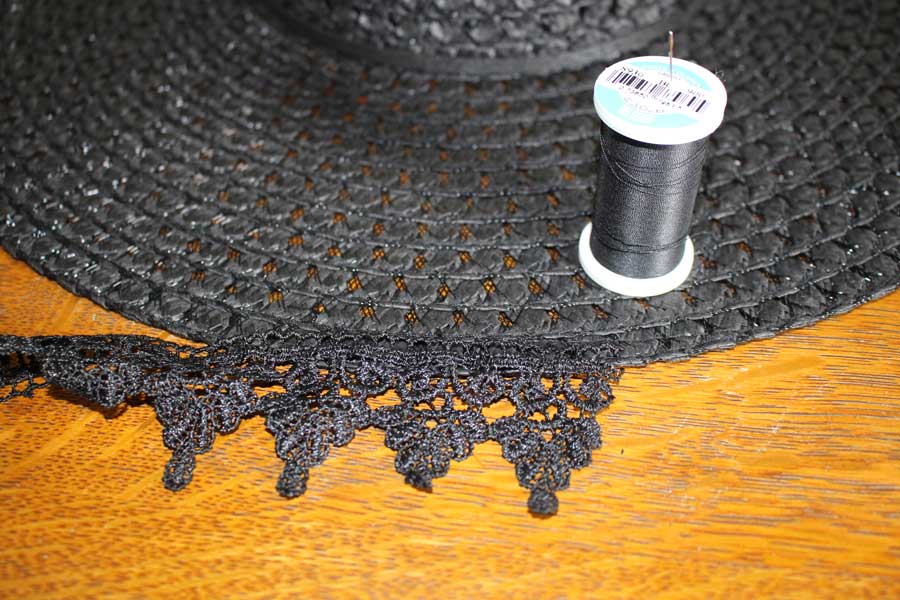
Step Two: Try Some Trim
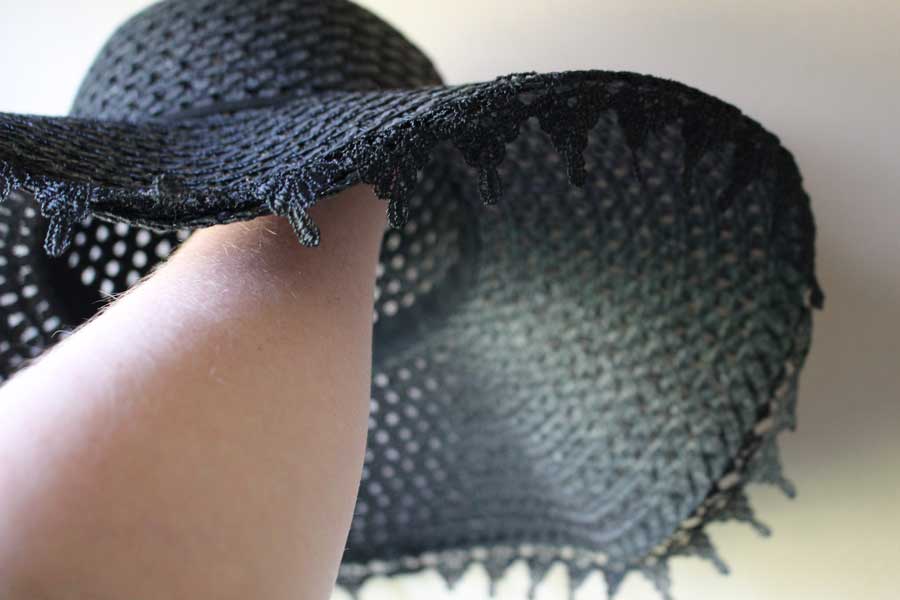
Depending upon how you want your hat to look, you will need to build in layers in order to get that multi-dimensional pop. I knew I wanted a hanging trim on the brim of my hat, so I took the time to hand sew black lace trim to the edge. Make sure to pick a trim that is limp, not stiff, or it will stick straight out from the brim!
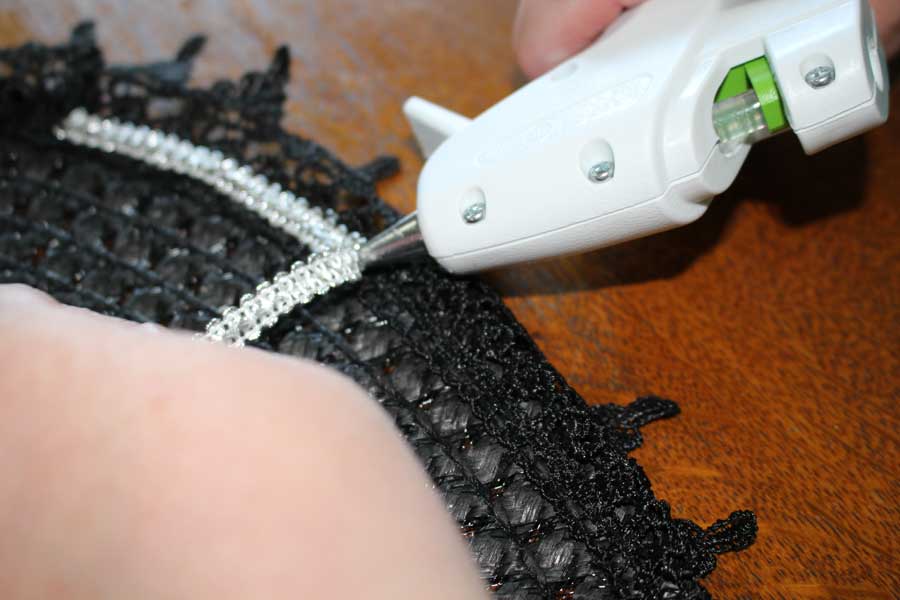
I wanted the brim to draw more attention, so I went ahead and applied a looping trim in silver along the edge. I found it easy to apply this with a low-temp glue gun.
QUICK TIP: Hot-glue guns are, surprisingly enough, HOT! A low-temp hot glue gun can help minimize the damage to your fingertips, but please use caution!
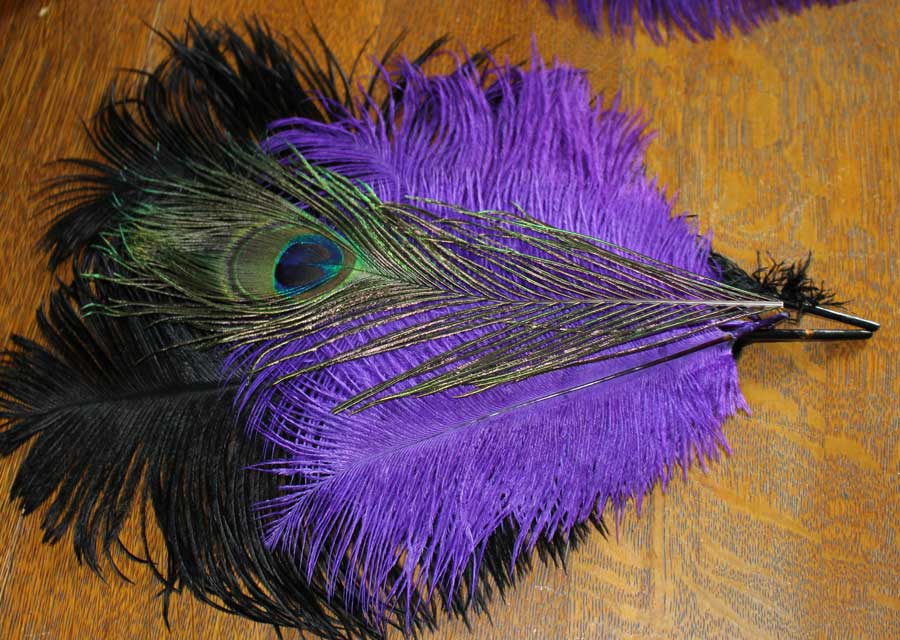
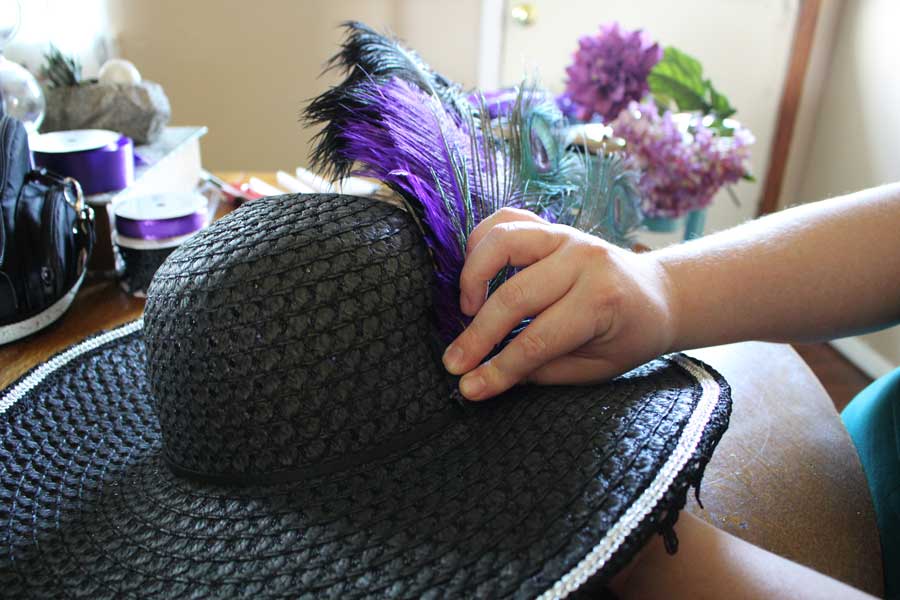
Step Three: Working With Feathers
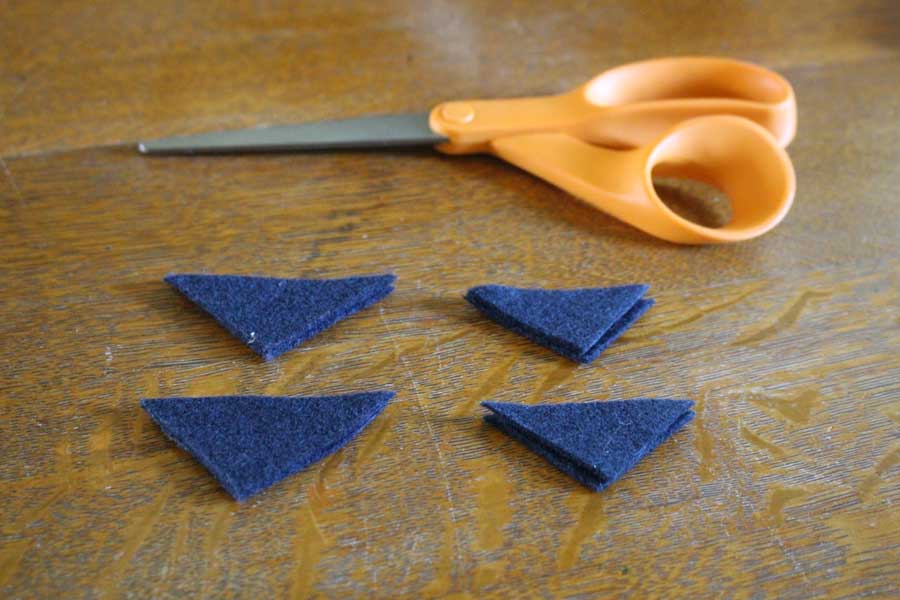
Attaching feathers to a hat one by one can be a ridiculous pain in the neck. They move around a lot, and you have to sit there and hold each one until the glue cools enough. I find it easier to take some felt, fold it in half, and cut off the corners in order to create pockets. This keeps the feathers under control while you work with them. This is also a really good technique for anything that has a thin base such a silk flowers since it allows you to have an area for hot glue to do its work.
Remember, build in layers! Glue the feathers starting with the longest, fullest ones in the back. Then apply the medium length ones, and finally any short or embellished feathers in front. This makes for a fuller plumage on your hat!
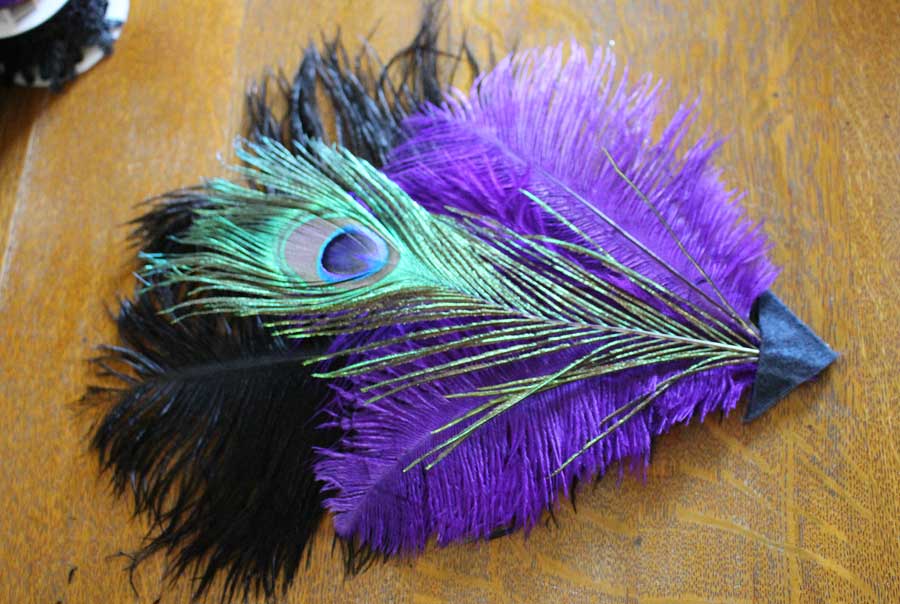
If you want a more noble, or regal appearance, you’re probably going to want your feathers to stand straight up so they draw more attention. This will be much harder with a heavier fan as it will pull downwards. Ostrich feathers add more weight than you think. If you want a more upright appearance, go for turkey quills or pheasant feathers in small bunches with one or two longer plumes. I wanted a big fan sticking out the back. So it was fairly easy to attach so that the feathers would lay where I wanted.
HINT: Want your feathers to be removable in case of rain or high winds? Just attach a pin back with a safety clutch to the fabric pocket!
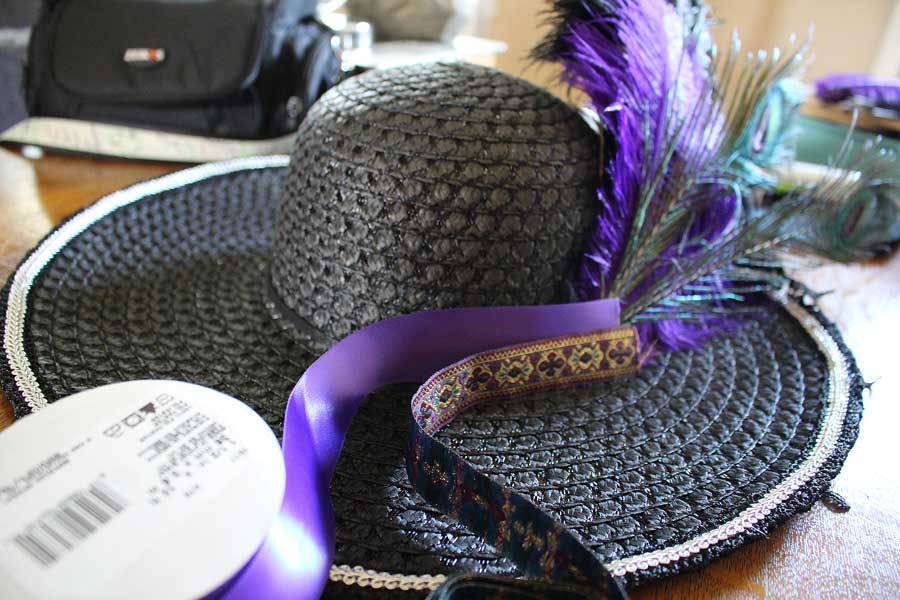
Step Four: I’m into Bands
Oops! I decided to add more trim after I attached the feathers! But this is what crafting is all about, being creative in the moment. Taking a second look, I should have reconsidered and put down my band first. It didn’t matter either way since I was planning to lift the brim. But overall, attaching the band before you do the big feather fan would be a lot easier. This is a good place to apply your layering again and stack multiple trims along with the band. You can hot glue it, but if you decide to go with some beading I would strongly advise doing the work with a needle and thread since it won’t leave big globules or dried glue behind your pretty beads!
Step Five: Embellish It
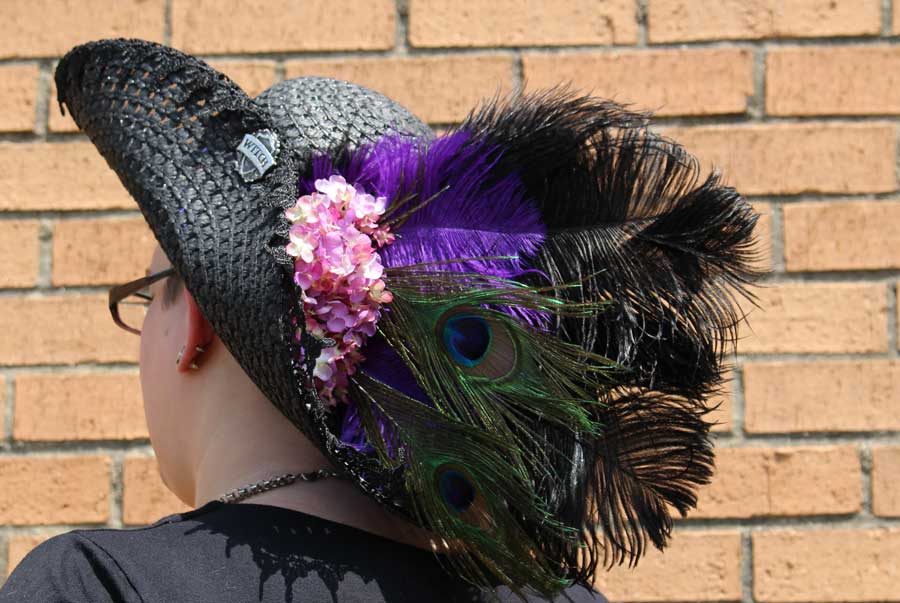
From here you have plenty of options! You can call yourself finished, or you can decide to take things a step further. Fold up one side of the brim and sew it to the cap to hide any little mistakes you might have made. Fold up both sides for a more pirate look! Add a veil or buttons along the rim. Use the hat for any favors you acquire! Make little ribbon bows and glue them along the flipped up underside. Add a conical felt extension and make yourself a full-fledged witch! This is an excellent vehicle for you to express your creativity and really cement your faire persona!
Show Us Your Faire Crafts!
Want to show off your ORF project? I’d love to see what you’ve created! Make sure to tag your Instagram posts with #orfstories so we can see your work on the homepage!